

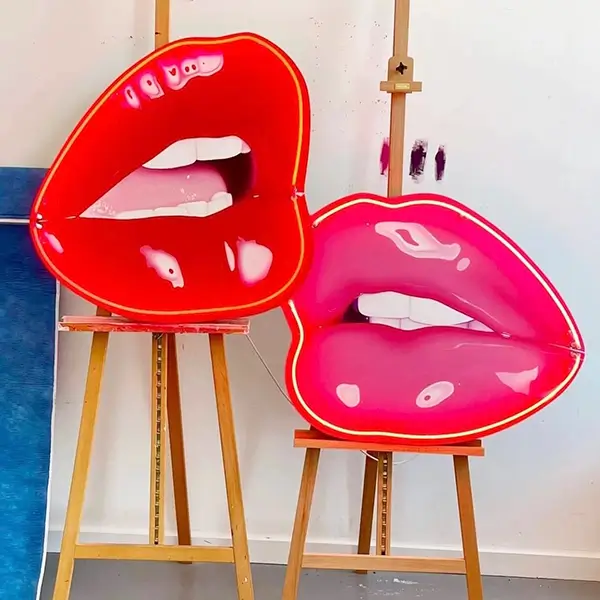
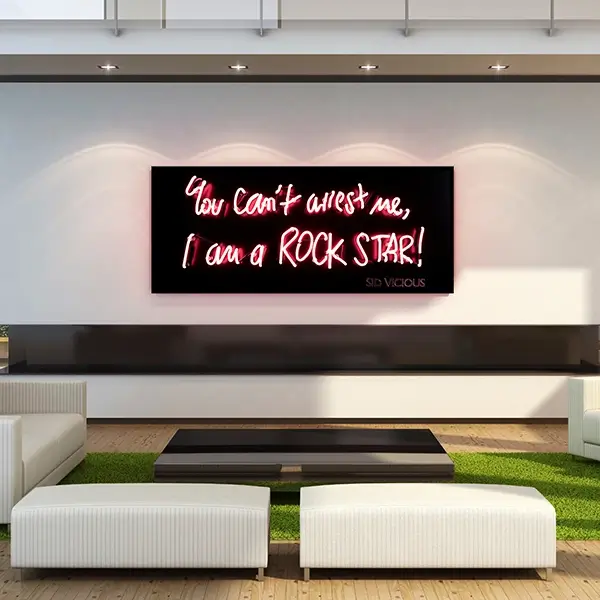
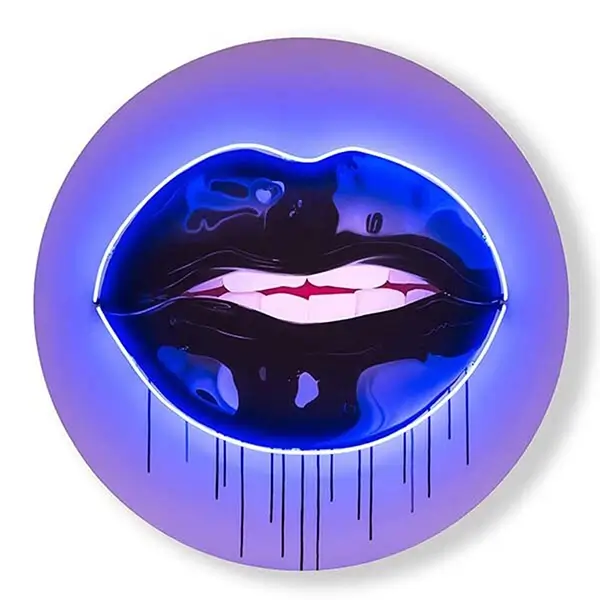
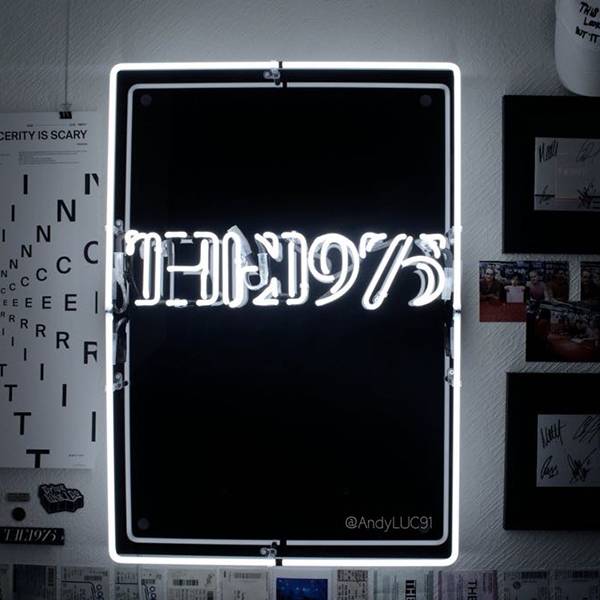
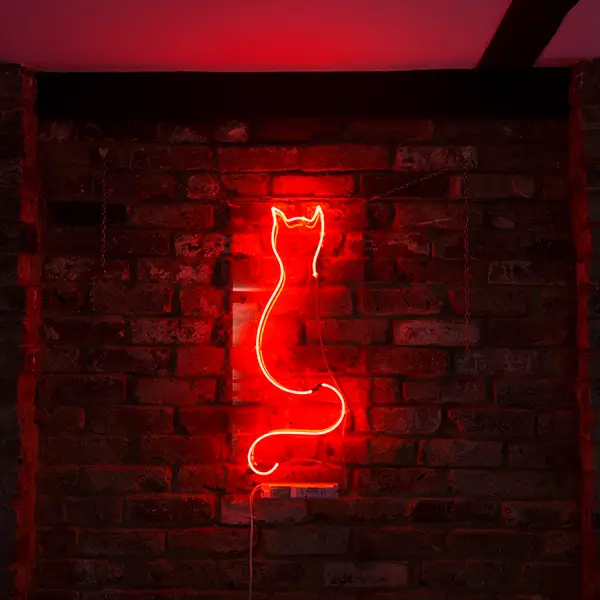
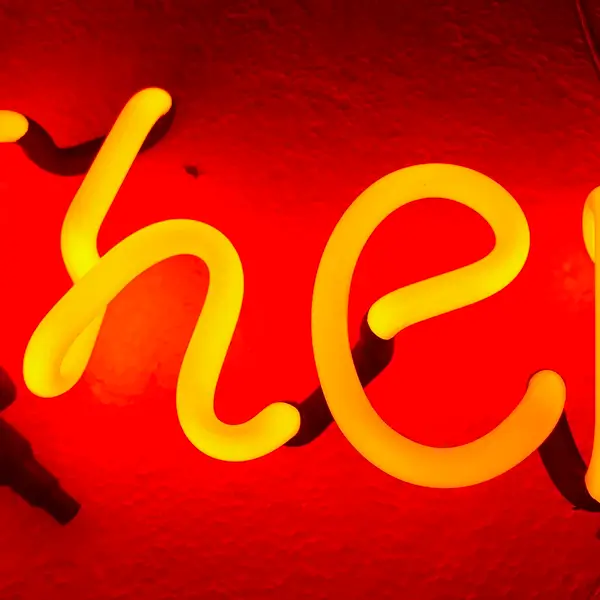
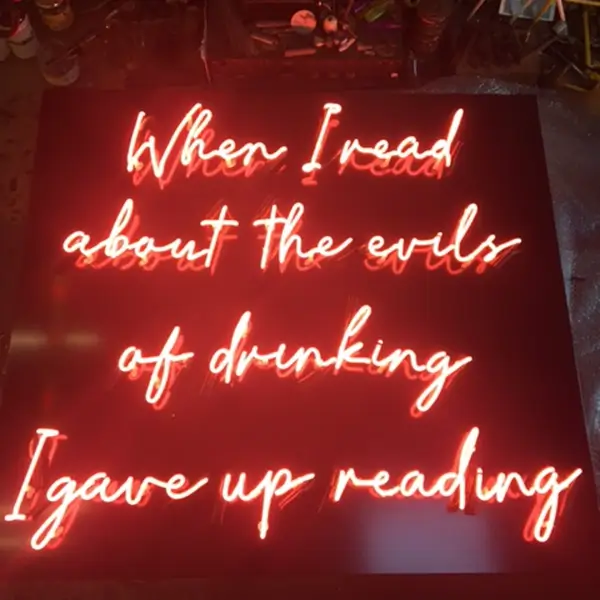
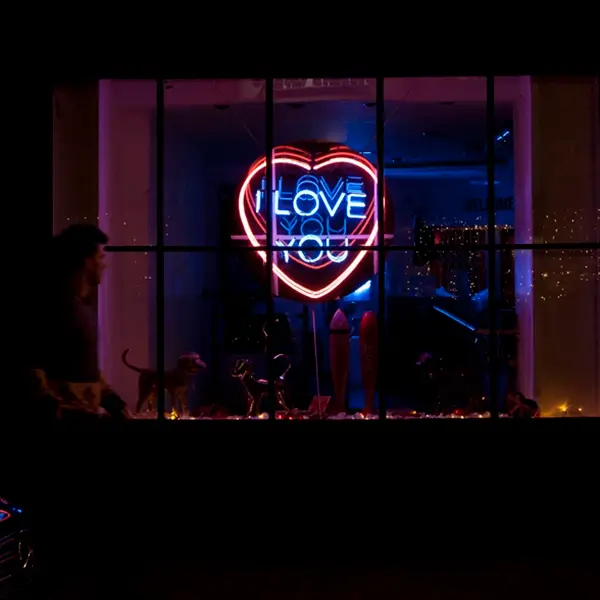
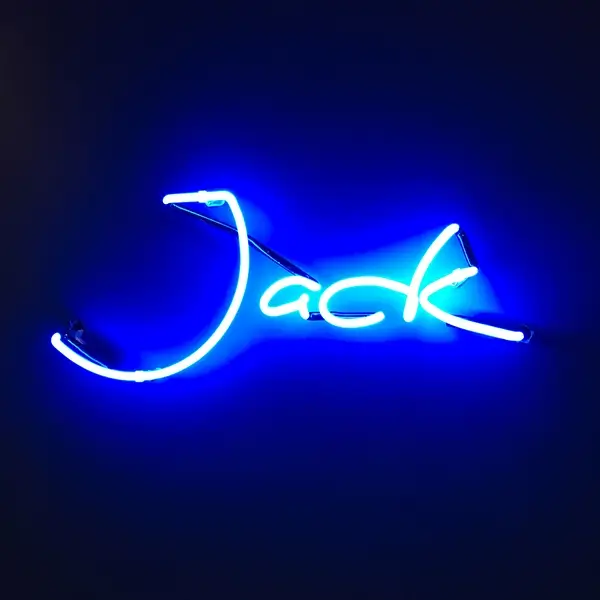
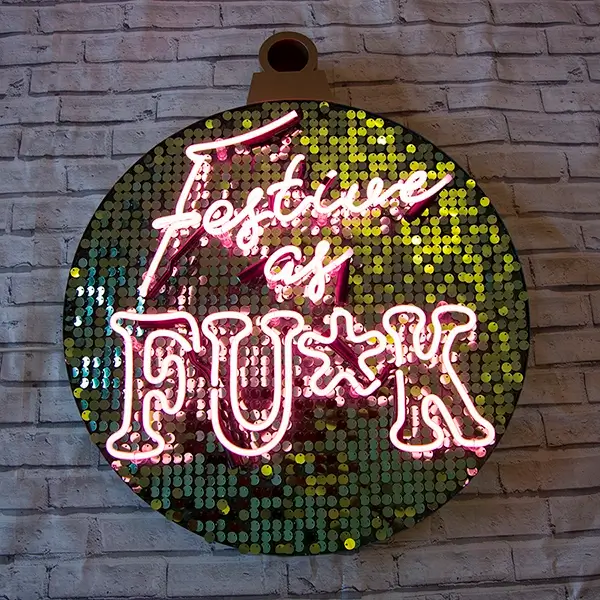
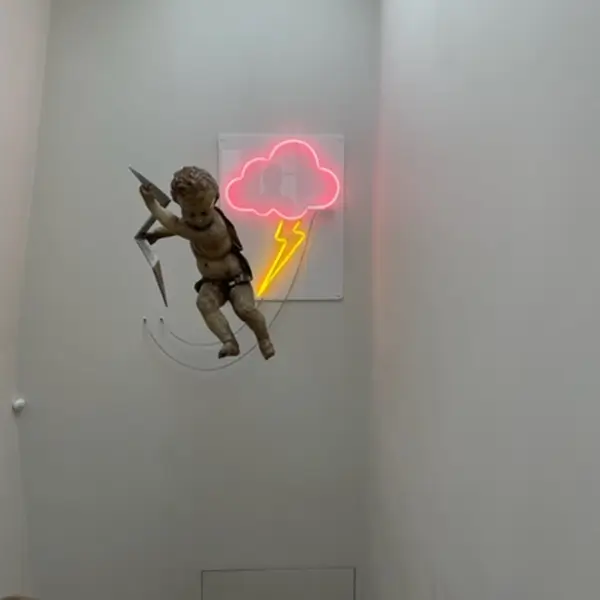
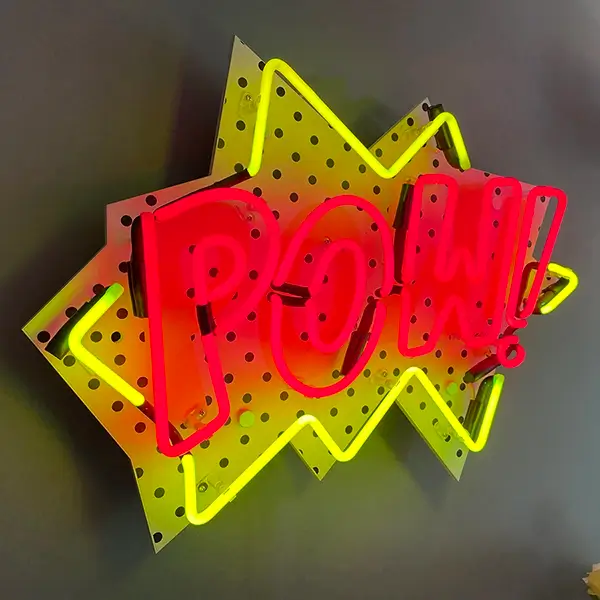
Neon Art
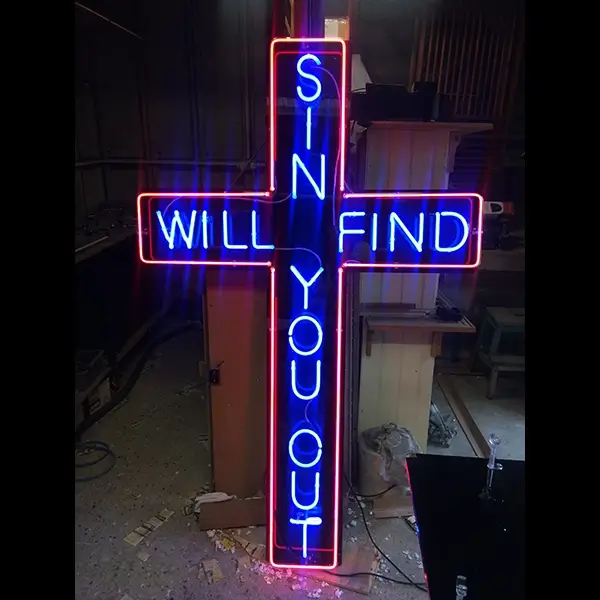
From 1946, when Gyula Kosice became the first artist to incorporate neon tubes into his neon art, right through to Tracey Emin today, artists have incorporated glass neon into their pieces, resulting in an expression referred to as ‘Light Art’ or ‘Neon Art’. Here at Carousel Lights, our Neon Art Division works with established neon artists as well as artists moving into the medium, to bring their vision to life and help to create their works.
We’ve worked with some of the most renowned names in the art world, including The Royal Academy, Murder Me, Science (UK), Jealous and Halcyon, helping them realise their vision. We can help you too.
How our Neon Art division can assist you
For years, we’ve been working with artists and galleries to bring to help bring their neon ideas to life. Neon is such a specialist material that requires skill and equipment to produce, that artists normally need to work with a British neon company to assist them in realising their vision. We often do this work ‘behind-the-scenes’ but can equally work on neon collaborations.
Our team includes talented staff with extensive design backgrounds, so not only can we advise on the technical aspects of incorporating neon into your art, but we can consult on aesthetics too, thus ensuring that your neon art vision comes to fruition as closely as possible.
We can offer advice on the full range of considerations you’ll need to make for your neon art, such as creation of your piece, through to white glove handling and logistics, through to installation. It may be that the neon itself is the only element of your art piece, or you wish to incorporate neon alongside other materials – we work with any method, and are very used to working with artists who have no knowledge of neon and don’t know where to start with the medium.
The sections below give a reasonable amount of detail about different elements to consider for your neon collaboration, but the best thing to do is contact us and we can advise on everything you need to do.
The Finer Details of Neon Art
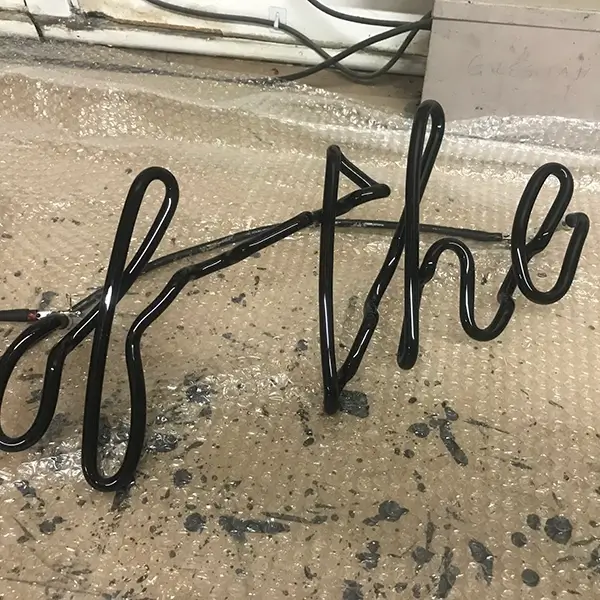
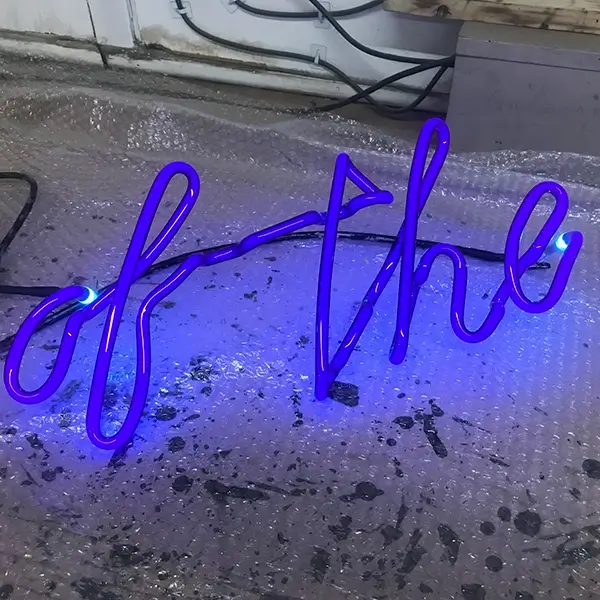
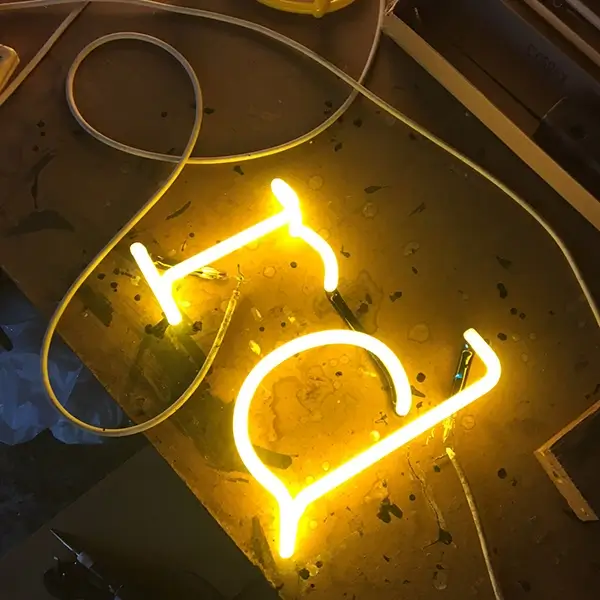
Neon is often seen as a mystical medium that’s difficult to understand, but when a neon art piece is broken down into it’s constituent parts, it actually only consists for 3 core elements: (i) One or more sections of glass that have been bent into shape and filled with Neon or Argon, (ii) a transformer to change the voltage from the mains supply to the level required for the section(s) of glass, and (iii) specialist ‘HT’ cable that connects the transformer to the glass.
That of course makes it sound simple, but invariably there’s a fair bit of devil in the detail that we work through in order to make sure the vision you have for your neon art comes to life as closely as possible as to how you imagine.
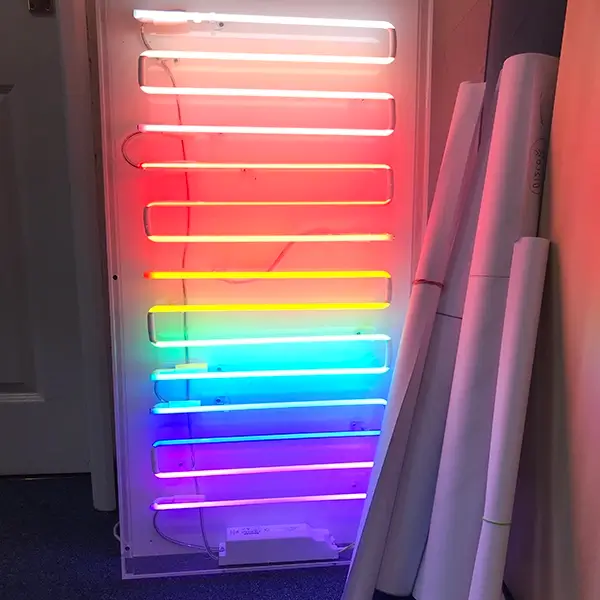
Neon Colour and Gas
Besides the actual design, colour is invariably the first thing people think about when it comes to neon art. But as with anything, there are nuances which we can help you with. The most important thing for us to understand is what you’re trying to achieve. Perhaps you want a hot pink that really pops out, or a light blue that’s more subtle.
Important considerations for you to make when choosing your colours are;
- Does the colour you’ve chosen work within the context of your design.
- How will the glass look when turned off [see more about this in the ‘Glass’ section].
- Whilst it may appear obvious, it’s often overlooked that neon is a source of illumination, meaning the room in which the neon art is located will glow your chosen colour. Are you happy for a green glow in the room? Or orange? Or pink?
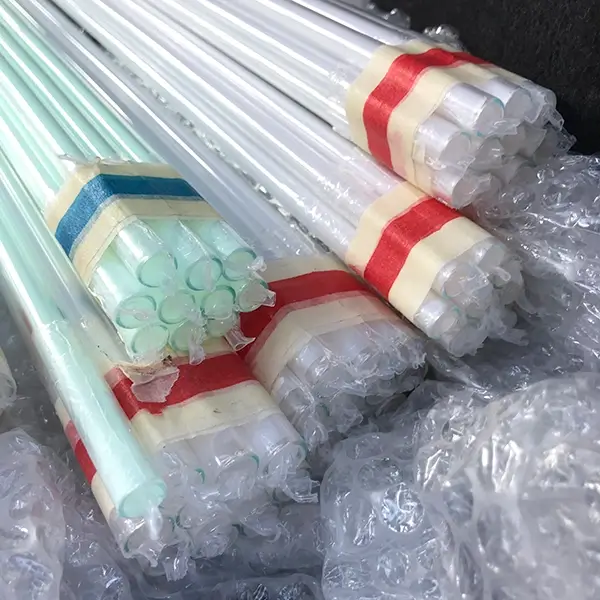
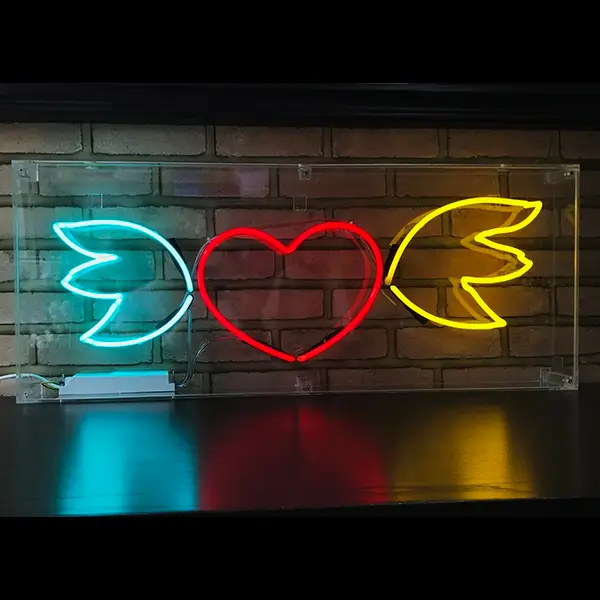
Neon Glass
When considering what glass to recommend in order to achieve your look, there are several factors that are in our minds: (i) The diameter of the glass. 10mm or 12mm are the most commonly used glass diameters and the way we choose normally depends on the size and complexity of the curves in your design; (ii) The colour of the glass itself. Neon glass can be either clear, white or a certain colour. Here are the glass options to achieve our full colour range (ie, what the glass looks like when turned off). Note that as well as a full colour spectrum range, we also offer Blacklight where we can produce neon art designs that illuminates in the Ultra-Violet colour range and will illuminate ‘glow-in-the-dark’ materials:
- Warm White/Cold White – White glass
- Light Pink/Hot Pink – White glass
- Red – Clear glass; red glass [called ‘Ruby Red’]
- Orange – White glass; orange glass [Citrus]
- Yellow – Yellow glass [Gold or Sunflower]
- Green – White glass; green glass [Emerald]
- Turquoise – Light green glass
- Blue – White glass; blue glass [Bromo]
- Violet – White glass
- Blacklight – Black glass
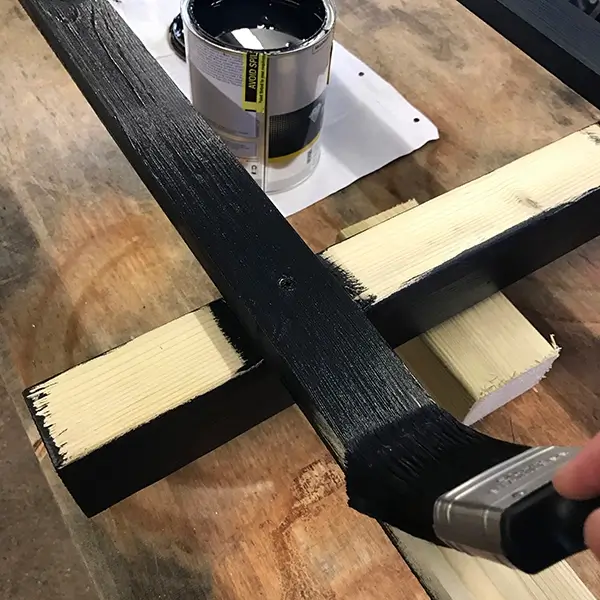
Blackout paint
Blackout paint is the substance we paint on to the glass in order to mask parts of the glass that we don’t want to illuminate. For example, if we’re bending a 1m cane of glass into the word ‘love’, then we won’t necessarily want the glass to illuminate where it goes from one letter to the next, and will therefore apply blackout paint on that area of glass. We’ll also apply blackout paint to the electrodes (see separate section) as we don’t want them to illuminate either.
A specialist black paint always has to be applied directly to the glass in order to block out any light. An aesthetic decision can then be made as to whether a second colour is to be applied on top in order to achieve a different colour. This is fairly rare however, as traditional neon has always had black paint, which remains part of its appeal.
Rest assured we’ll consult you in any decisions that need to be made regarding how blackout paint is applied to your neon art piece.
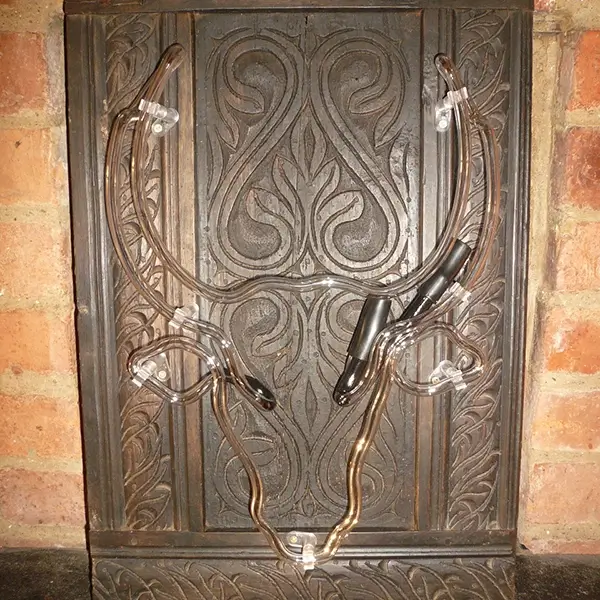
Electrodes & Silicone Covers
Electrodes are located on each end of every section of glass, and are used to connect the transformer to the glass and pass the current through the glass tubes. Electrodes come in various sizes dependent on several factors, but that’s a decision we will make for each different piece.
The aesthetic consideration regarding electrodes is whether we locate them at a 90 degree angle to the glass, or whether they turn completely back on themselves 180 degrees.
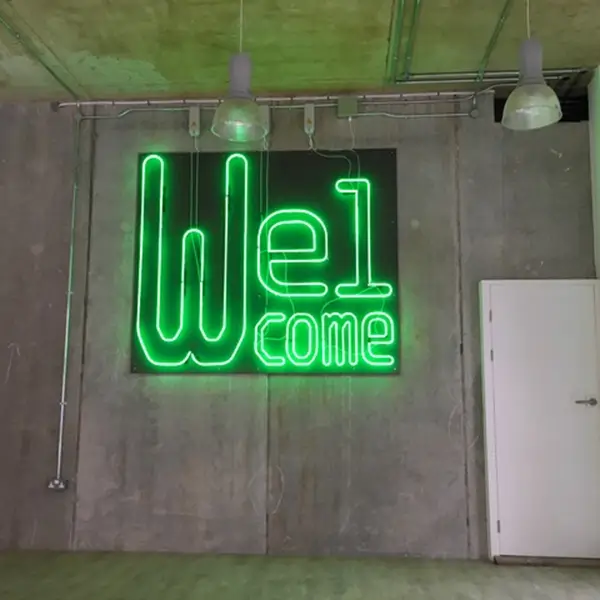
- 180 degree turn-back. The electrodes are located onto the glass in a manner which turns back on itself, so in essence when the glass is mounted, the electrodes are sitting under the glass and therefore visible. This method is the most commonly used method, and is always used when the glass is being mounted onto a solid substrate, as well as often being used on a hollow substrate for aesthetic reasons (ie they want to be visible).
- 90 degree perpendicular. We use this option when the substrate onto which the neon glass is being mounted has a void behind it. In this instance we’ll drill holes in the substrate through which the the electrodes will be inserted. All of the wiring of the neon art piece will then be hidden out of site.
Black or White silicone covers are placed over each electrode once the neon art piece has been assembled.

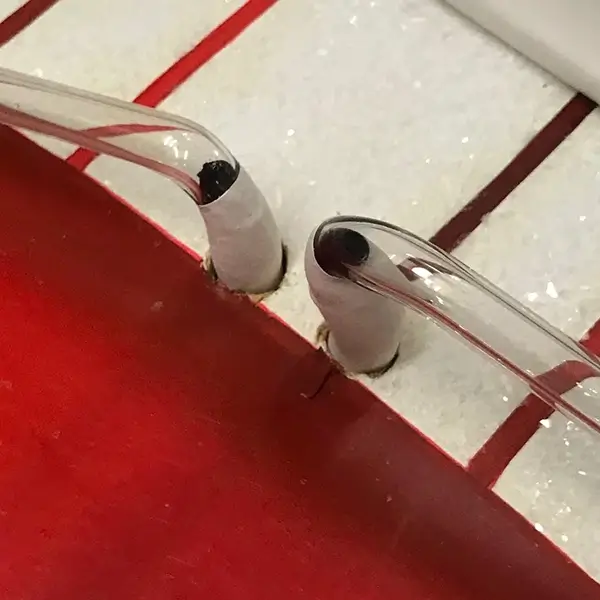
From left: (1) 180-degree turnback electrodes with no blackout paint applied and argon gas visibly glowing blue; (2) 90-degree perpendicular electrodes with white blackout paint located through substrate; (3) 180-degree turnback electrodes with black blackout paint and black silicone covers; (4) 180-degree turnback electrodes with white blackout paint and white silicone covers.
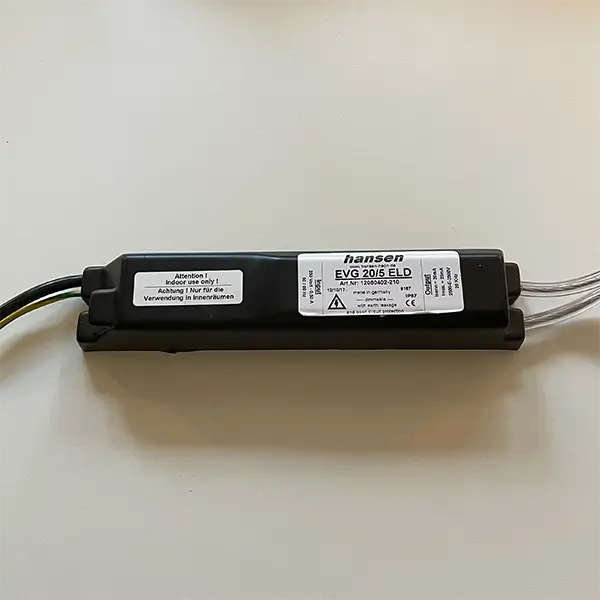
Neon transformers
The neon transformer is located between the mains power supply and your neon glass, changing the voltage and current to the correct level needed for your particular neon art. All of our transformers are manufactured in Europe (Germany or Italy) and are CE-marked. There are in essence two different types of transformers, each of which then comes in different output voltage/current options:
Electronic Convertors (Hansen transformers)
- Integral earth leakage
- Constant-current output.
- Some models have built-in dimmer
- Physically smaller than Metalbox (see below)
- Most aren’t rated for outdoor use.
- Can choose from Black or White. Black comes fitted with a black power supply lead and White comes with a white power supply lead.
- HT cables are pre-fitted (~1.5m Long) and cannot be changed.
Metalbox Transformers (Siet transformers)
- Suitable for outdoor and indoor use
- Physically larger and substantially heavier than electronic.
- May make slight buzzing noise.
- Need to be more accurately rated to the glass.
- Off-white in colour and can be fitted with any length power supply lead and HT cables.
Neon Cables
The cable that connects the neon transformer to the neon glass, and one section of neon glass to the next, is called ‘HT’ cable, standing for ‘High Tension’ cable. The coating of the cable comes in several specifications. Often, the way in which the cable is being used dictates the cable we need to use for your neon art piece, but in instances where you there’s the opportunity to make an aesthetic decision, we’ll let you know what your options are. In summary, the most commonly used HT cables for our neon art pieces are:
- Transparent PVC. The coating of the cable is clear, meaning the wire running through the centre is visibly.
- Translucent (milky appearance), White or Black silicone. This has a softer more pliable feel to it than transparent, as well as a different appearance.
- Double-insulated White LSF PVC. This is often used when the cable passes through or over metal, to eliminate the occurrence of the neon flickering.
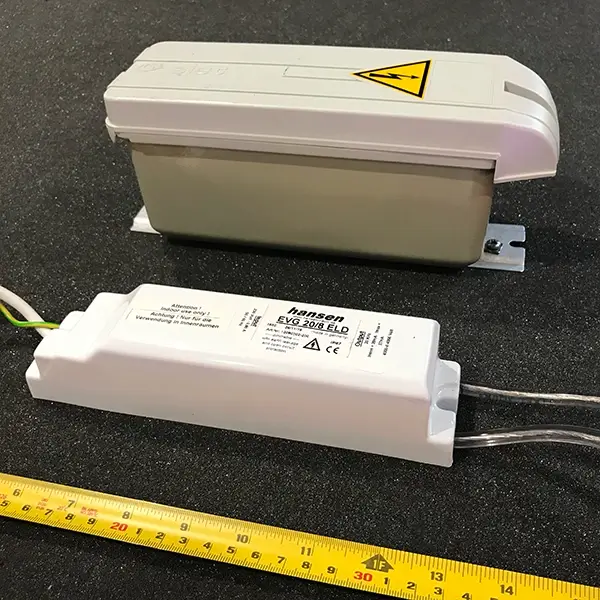

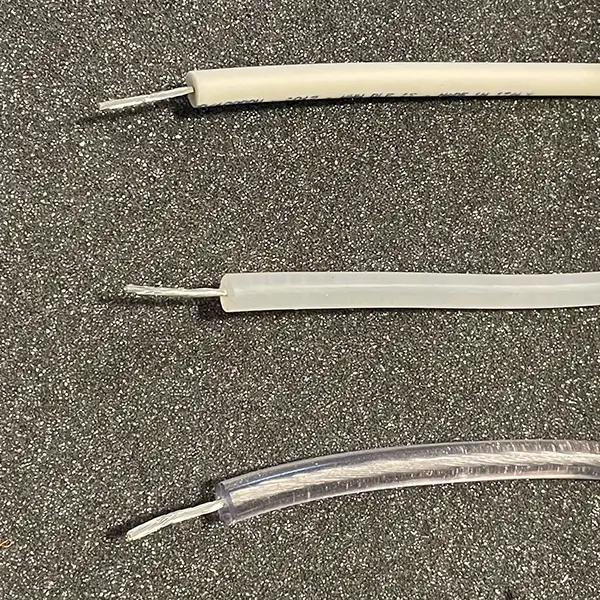
From left: (1) Siet neon art transformer [top] and 8kv 20ma white Hansen neon transformer [bottom]; (2) 5kv 20ma black Hansen neon transformer; (3) double coated white neon HT cable; (4) white silicone HT cable [top], translucent milky neon HT cable [middle] and clear PVC neon HT cable [bottom].
Mounting – to substrate
More often than not we mount the neon glass onto a substrate. We work with a broad range of materials, so whether it’s timber, acrylic or metal, we’re experienced in most mediums.
As always, when creating your piece, it’s important to consultant with us so we can advise on a few things you’ll need to consider to make sure your neon art comes together as you hope. Key considerations for us to work through in collaboration with yourself are:
- Whether you want electrodes and cabling visible or shall we ‘hide’ them in the substrate.
- Whereabouts we can locate the transformers.
- Where you would like the power cable to exit your piece. Sometimes this is out of the side, and sometimes it can be out from the back. We also may discuss the colour of the power lead.
- The order in which your neon art is put together. It may be that we wish to pre-drill holes before you paint it for example, so we do as little work on it as possible once you have completed parts of it.
Mounting – to wall
Mounting neon glass directly to a wall will require specialist installation. We will put you in touch with a specialist installer and explain everything about your neon art piece to them. The ‘Neon Art Installation’ section below explains more about questions your installer may have, and considerations that need to be made.
It’s worth noting from experience that if a neon piece is mounted directly to a wall, and the owner decides that they wish to relocate the piece at some point in future, it will need specialists to come and take the piece down as well as move it to the new location, and the wall will need making good from where holes were drill to fix the tube supports onto the wall.

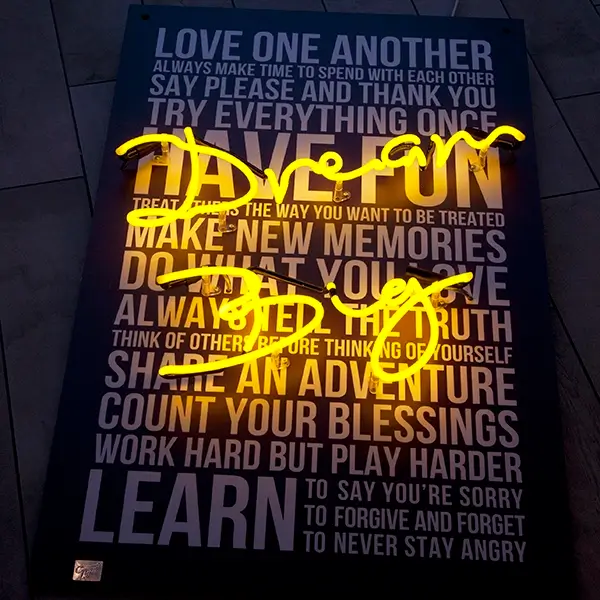

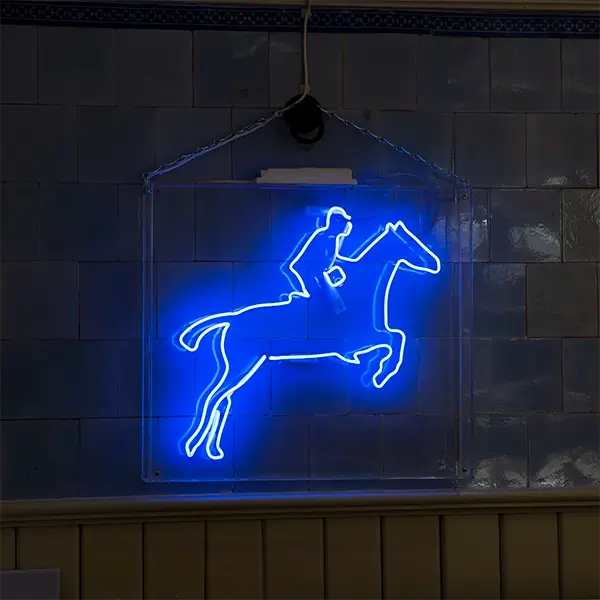
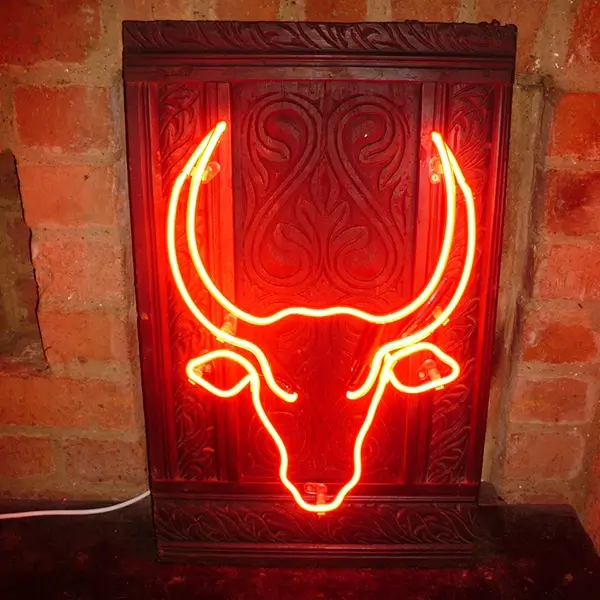
From left: (1) MAVERICKS turquoise neon mounted directly to The Royal Academy wall; (2) Neon ‘FAMILY’ mounted to raw/powdercoated stainlyess steel heart; (3) neon mounted to shimmer wall set in powdercoated steel; (4) ‘Dream Big’ neon mounted on vinyl-coated 10mm black acrylic; (5) Yellow neon mounted on giltter-vinyl coated dibond; (6) blue neon mounted on 10mm white acrylic with standoffs to allow space for transformer between wall and acrylic; (7) clear red neon bulldog mounted onto satin black powdercoated steel tray; (8) Superblue neon horse mounted inside clear acrylic box.
Flashing & Dimming neon
It is possible to make your neon flash or animate, but it’s important to let us know about your intentions at the concept stage as this will dictate how we produce and assemble your neon art piece.
The dimmers and units used to flash and animate neon can be relatively cumbersome so it’s often better-suited to larger neon pieces. Some hansen transformers do come with an integrated flashing option, as well as dimming, but this does depend on the specific transformer that your neon piece will require.
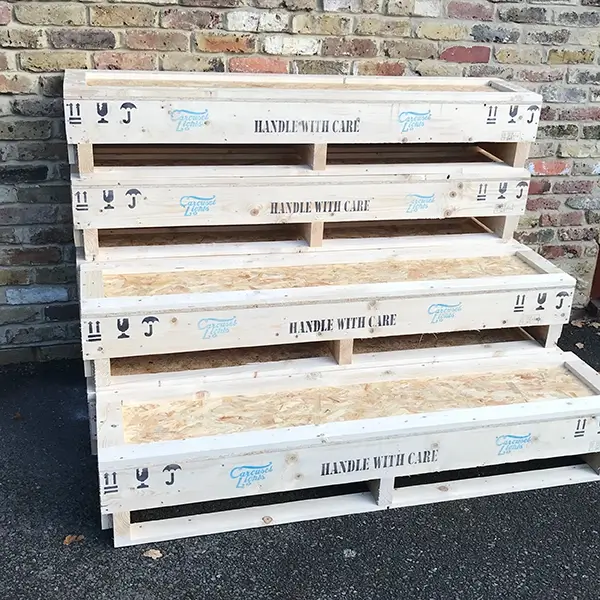
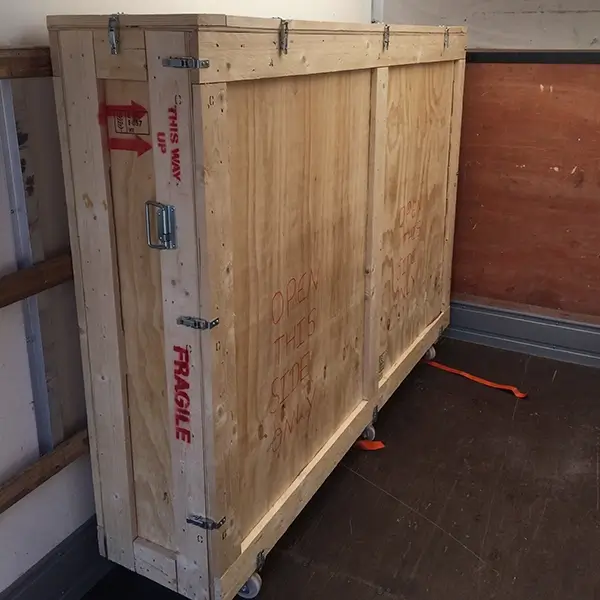
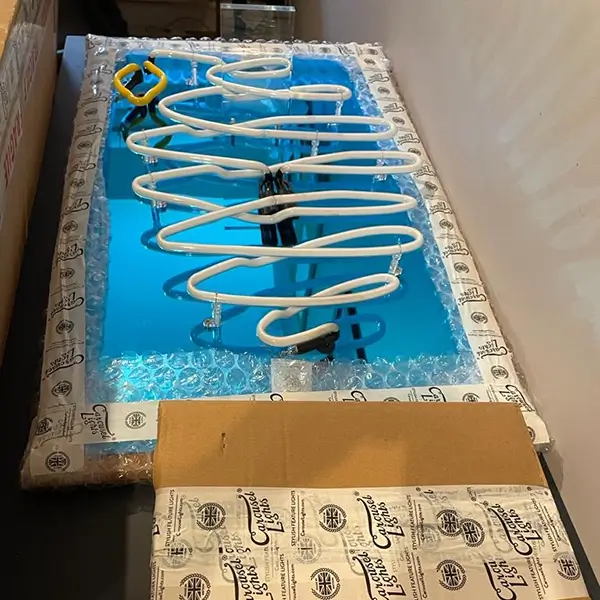
Neon Art Packaging & Delivery
The most important consideration for us when packaging up and delivering your neon art pieces, is how we get them to you in pristine condition, and we can offer a white-glove service. The best way to do this is normally for us to lightly wrap the substrate but to leave the neon glass exposed and visible. The reason for this is so that people can clearly see that it’s glass, and don’t for instance place items on top. It’s also to stop any potential damage from people removing the packaging and breaking the glass or marking the substrate in the process. We are also able to provide protective cases if required, such as bespoke flight cases. We work with a select portfolio of specialist art packagers and case-makers, so often draw on this expert service when required.
Neon Art Installation
If you’re piece is already pre-assembled onto a substrate, with a main power lead coming off it, then it can be hung by a client, gallery or handyman, just like any other light fixture. If however, your neon is being fitted directly to a gallery or client wall, then your neon art piece will require specialist installation.
We work with several neon art installers and will make this process as easy as possible for you. They will need to know various bits of informations such as: Where geographically is the neon install location? Where will neon transformers be located? Will is the power supply located on-site? It may be that your installer needs to conduct a site visit in advance of the neon install, or they may be able to just use photographs and a telephone conversation. The specialist neon installer will quote and invoice you directly as a third party.
And Finally!
We’d just like to finish by reminding you that we’re here, in the UK, to help you bring your vision to life. You can consider us a neon art consultancy. You can consider us a neon sign making company. You can consider us an art advisor. Whatever it is that you need, feel free to give us a call and we’ll help with all of your work.

The simple 6 step process
It’s easier than you think

1. Your bright idea
Let us know your initial thoughts
2. A few questions
We’ll need some more details before we begin
3. The proposal
We’ll share our initial designs with you
4. Give it the thumbs up
Delighted with our design? Great – it’s time to pay
5. Let’s get to work!
We’ll start producing your design
6. Delivering the goods
Your design delivered to your door

"A HUGE thank-you! You'ce created such a 'wow-factor' light installation that's far better than we could ever have imagined. Everyone has been so professional and helpful every step of the way!"

Thank you so much for the light - it looked AMAZING! We've decided to keep it up and it'll no doubt stay there!